When you’re on holiday, sometimes you want to take photos without lugging around a bulky DSLR camera. But if you’re a shutterbug, there’s always a doubt about leaving the DSLR camera behind, as you don’t want to miss the opportunity of capturing gorgeous shots during the trip.
Well, how about leaving your heavy gear at home and travel light with only your phone? This might seem like an outrageous suggestion, but a smartphone camera can be enough for your travel photography. This little gadget can do so much, that you can now rely on this to create stunning images that look like they’re taken with a fancy DSLR camera.
A while ago, we shared these smartphone photography tips. Hopefully, you’ve mastered the basics like lighting composition, and finding unique perspectives, so now you’re ready to take on the next challenge: creating pro-quality travel photos with your smartphone camera.
Here’s what you can do:
Table of Contents
- Optimise the HDR mode
- Install a camera app to enhance your photography
- Use clip-on lenses to up your game
- Use foreground to create depth in your images
- Take the same shot in portrait and landscape format
- Familiarise yourself with shutter lag
- Capture the scene
- Simplify your photo to make the subject stand out
- Look back
- Use Instagram as your resource
- Prepare the phone accessories to use when needed
- Edit, but keep it natural
Optimise the HDR mode
 Most phone cameras these days are equipped with HDR (High Dynamic Range) mode. Technically, a single HDR shot is constructed by using 3 photos taken at different exposures, which are then combined into one. So when you take a photo in HDR mode, your phone actually takes 3 pictures and processes them into 1 image for you. This is why it’s important to keep your camera still when clicking in HDR mode.
High Dynamic Range provides a greater range of the brightness between the lightest and darkest point in your photo. Thus, it works particularly well when you take photos that have a high contrast between the bright and dark areas, as HDR mode will help smooth the contrast out. Although HDR sounds amazing, there are certain circumstances when it’s better to avoid it. Here’s the summary of when to use and avoid HDR mode:
Use HDR mode when:
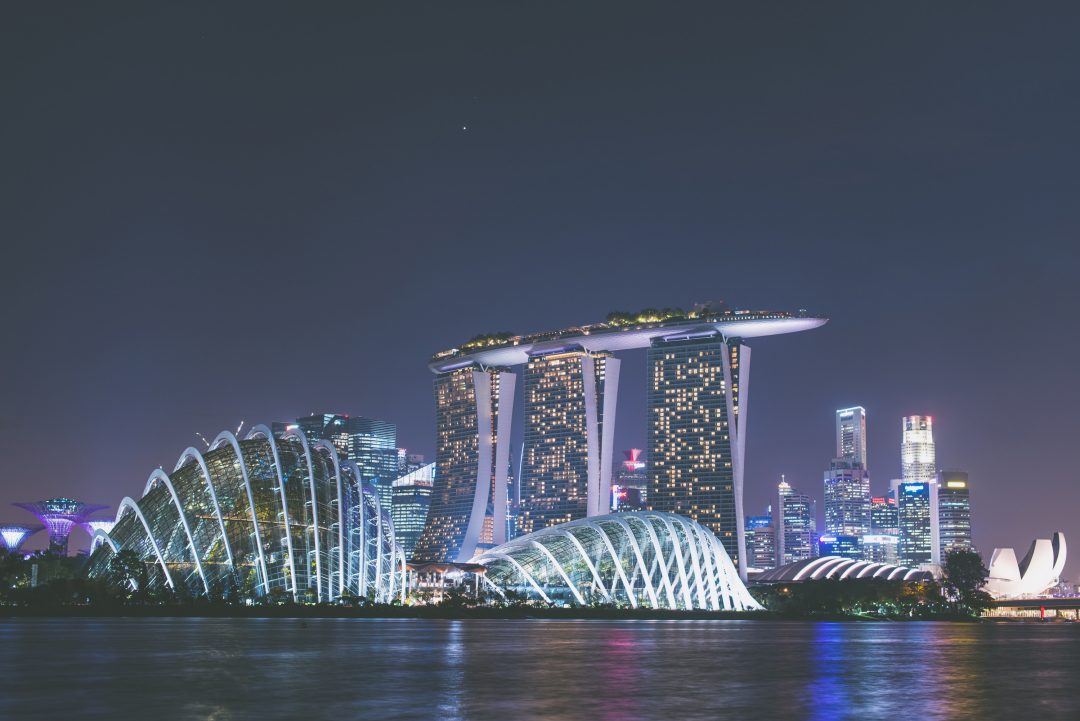
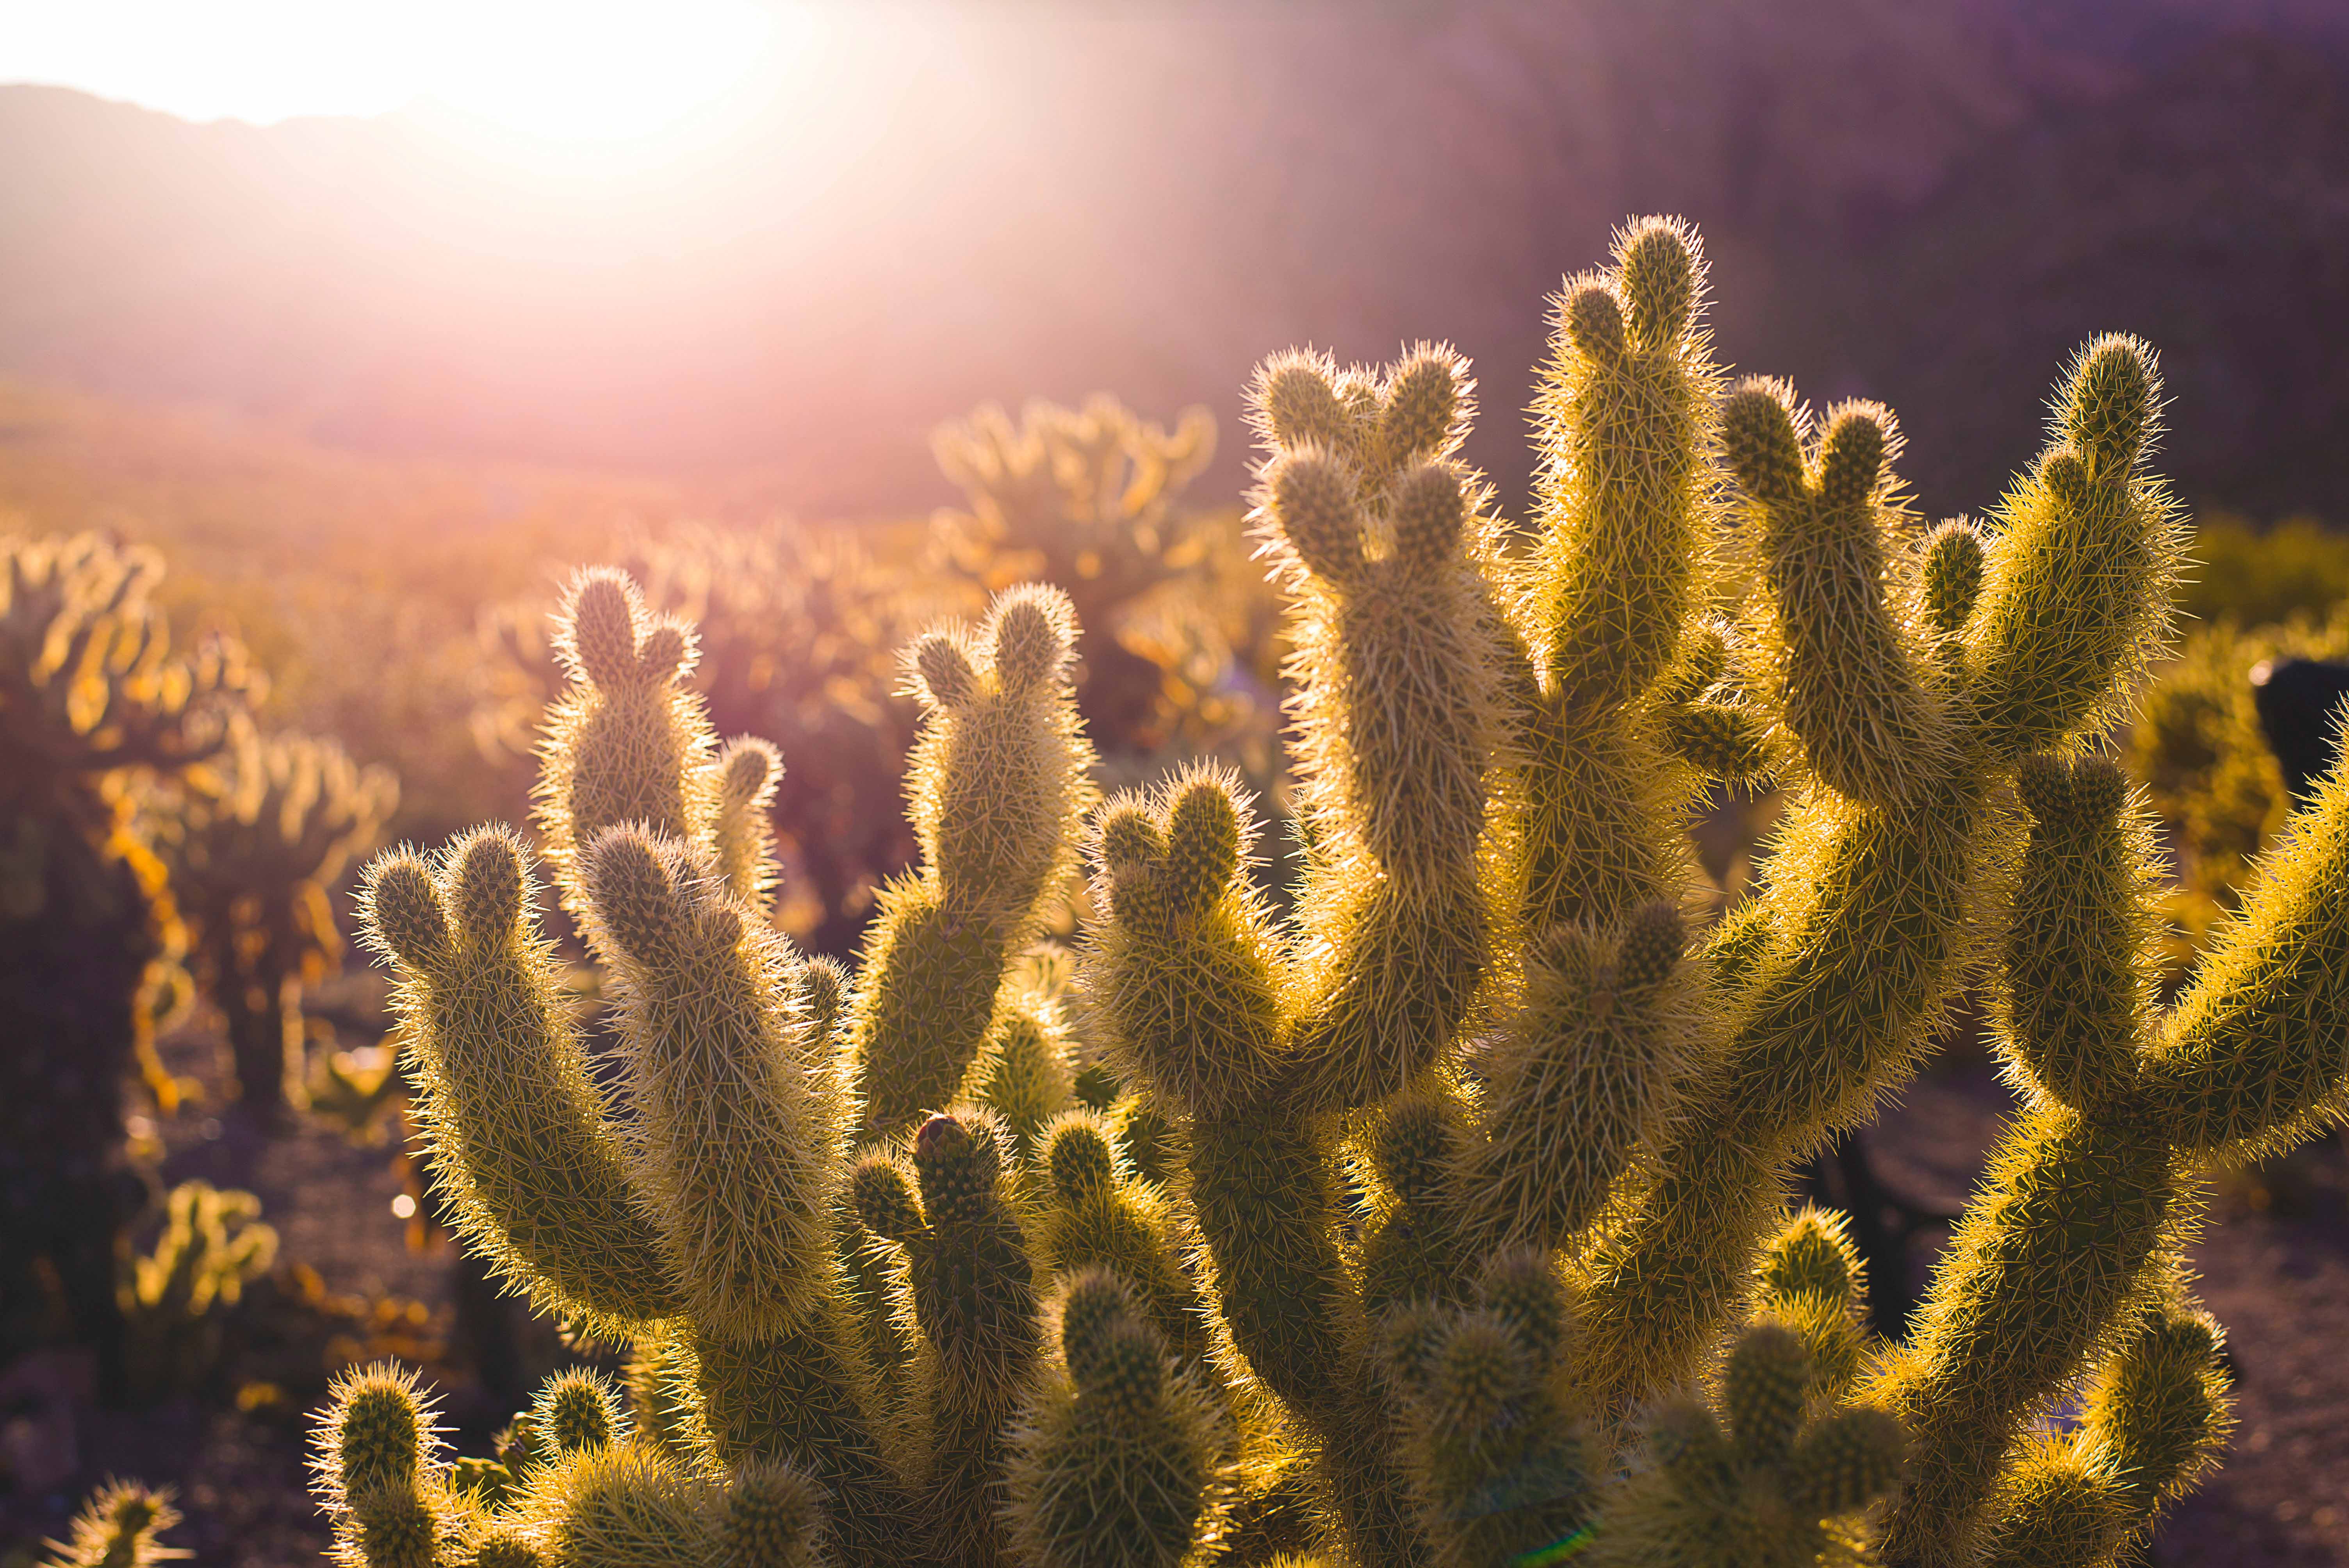
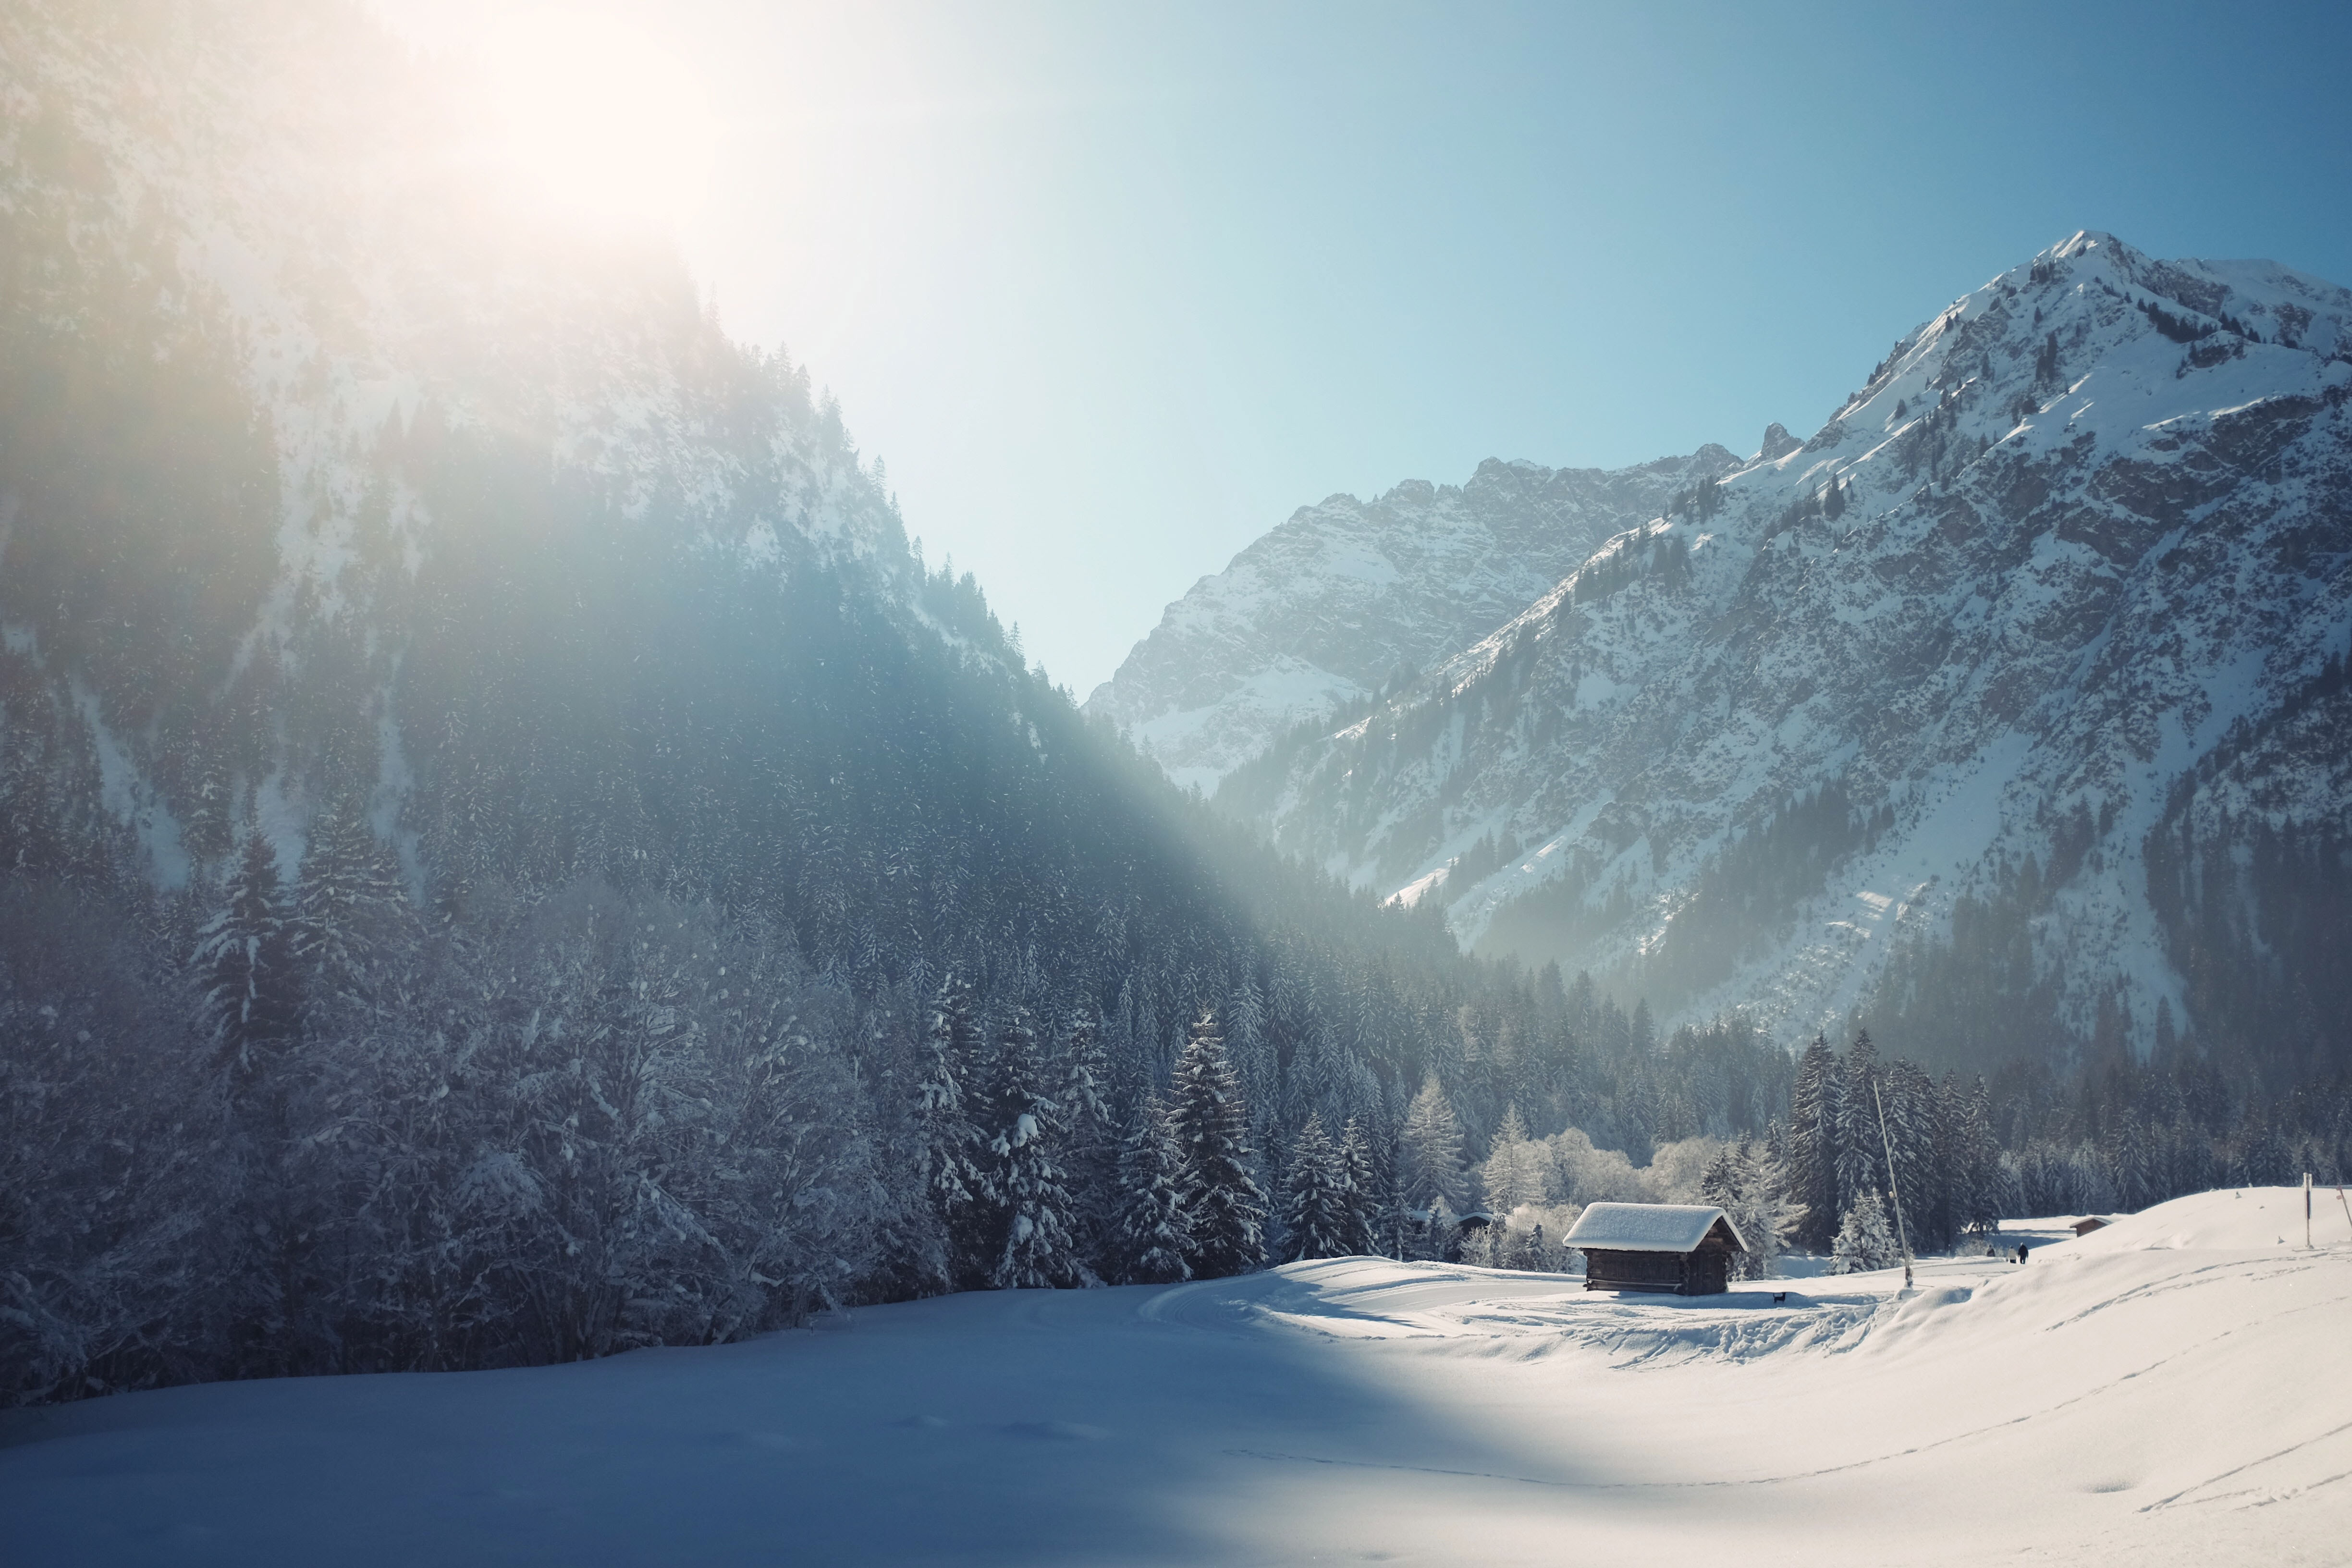
- Shooting landscapes: the contrast between the bright sky and the darker subject on land can often result in a dark photo, save for the sky background. HDR mode will help contrasting brightness, so the land is not too dark and the sky is not overexposed
- Your subject is in direct sunlight – a subject in direct sunlight can appear overly bright, in contrast with the dark shadows in the surroundings. HDR mode balances the well-lit and shadow portions of your photo
- Shooting with a backlight – HDR will brighten the foreground without overexposing the bright background
Avoid HDR mode when:
- You’re photographing subjects with vivid colours – HDR is great at bringing colours in extremely bright/dark conditions, but not when the subject is already vividly colourful. In this case, HDR mode will only make these colours look unnatural and fake
- Your subject is moving – as explained earlier, HDR mode uses 3 pictures and combines it into 1, so even a slight movement could make your subject appear blurry and ghostly
- You aim to create a silhouette: A silhouette needs a stark contrast between the bright and dark areas, and HDR mode will tone down the contrast, resulting in a dull photo
- You shoot in a very low-light condition – HDR mode will try to compensate the extreme darkness in your photo, but the result will be an unsharp, discoloured image.
Install a camera app to enhance your photography
If you need more control over the settings, consider installing third-party apps that can give DSLR features to your phone camera. This means you can do manual control for the exposure, shutter speed, ISO, white balance, and many more. Depending on the app you use, you can have the options to shoot in RAW or DNG format, change lenses (between 28 mm to 56 mm), and see the live histogram.
There are a plethora of camera apps out there that you can use, but it’s important to check the compatibility with your phone. Apps like Open Camera and DSLR Camera Pro (Android), or Manual and Obscura Camera (iPhone) are good for a start, and as you go, you can try more apps and see which one works best for you.
Use clip-on lenses to up your game
Your camera will always be the main tool in capturing photos, but there’s another thing that can bring your smartphone photography to another level: clip-on lenses.
Before you groan at the thought of having various lenses cluttering your bag, remember that these clip-on lenses are tiny compared to DSLR lenses. They’re usually sold in kit, and you can choose the lenses you fancy, from wide-angle, macro lenses, to something more fun like a fisheye lens. Can’t decide which one to use? Bring them all! They really are lightweight and don’t take much space.
Use foreground to create depth in your images
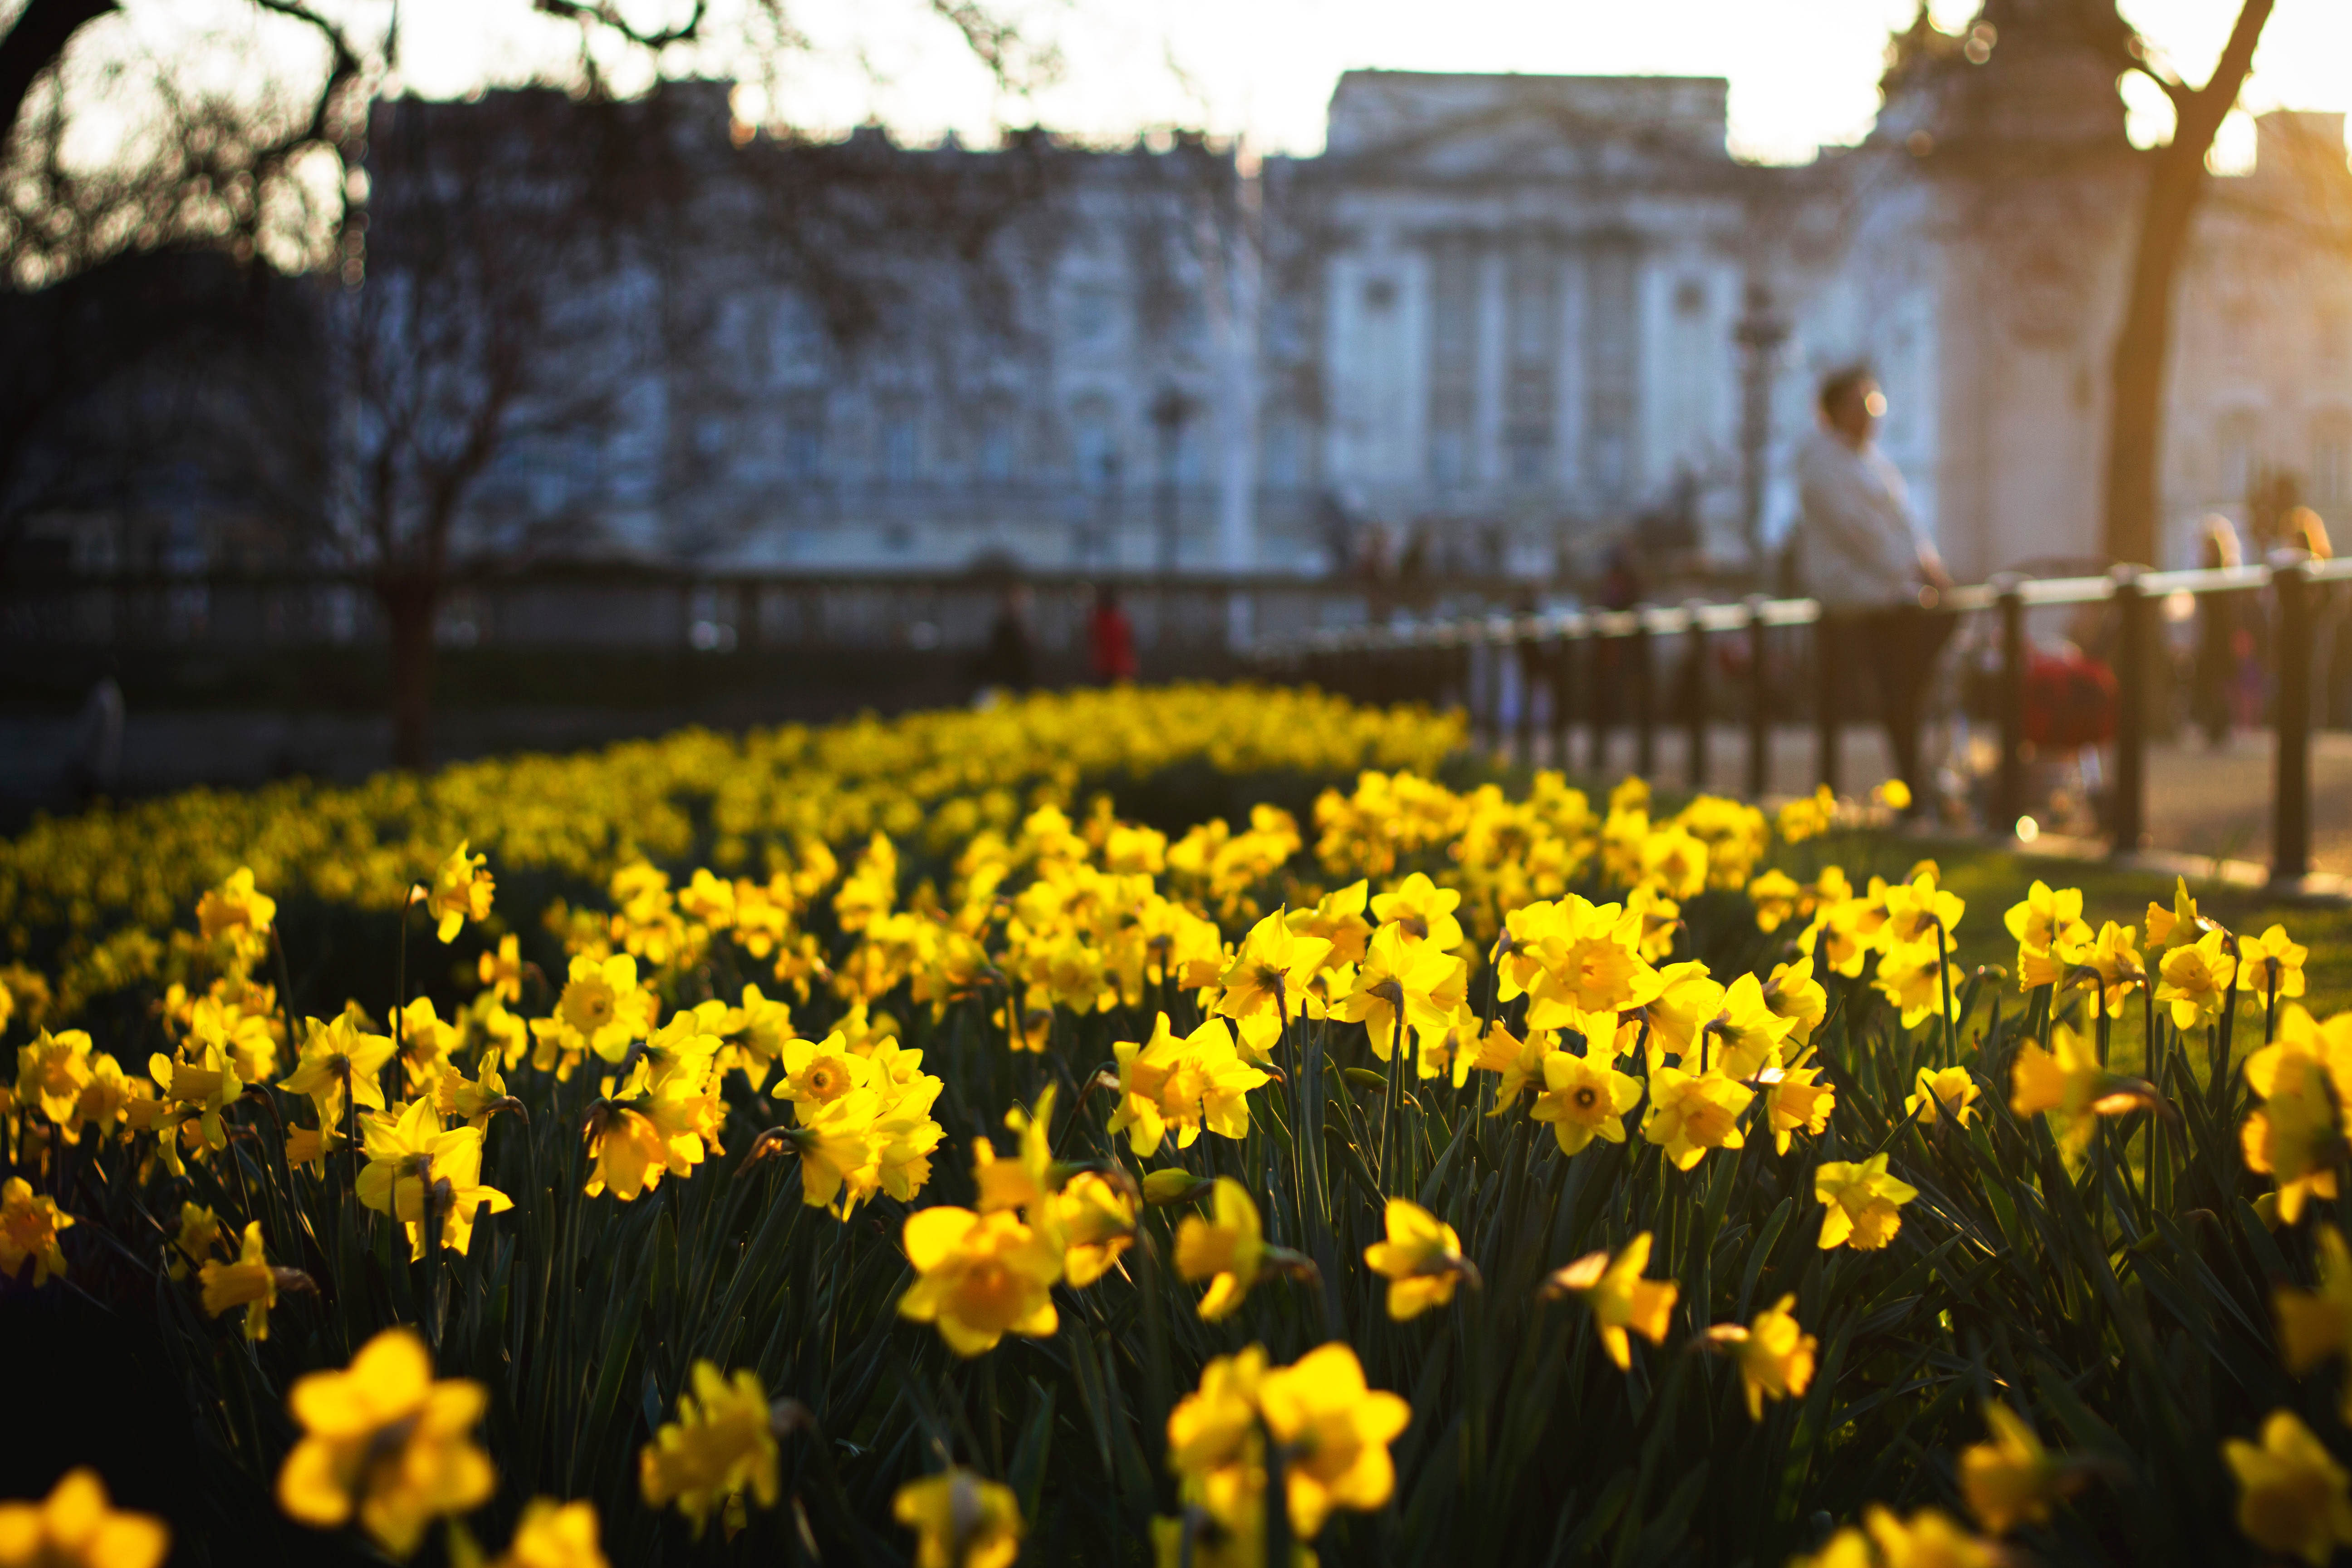
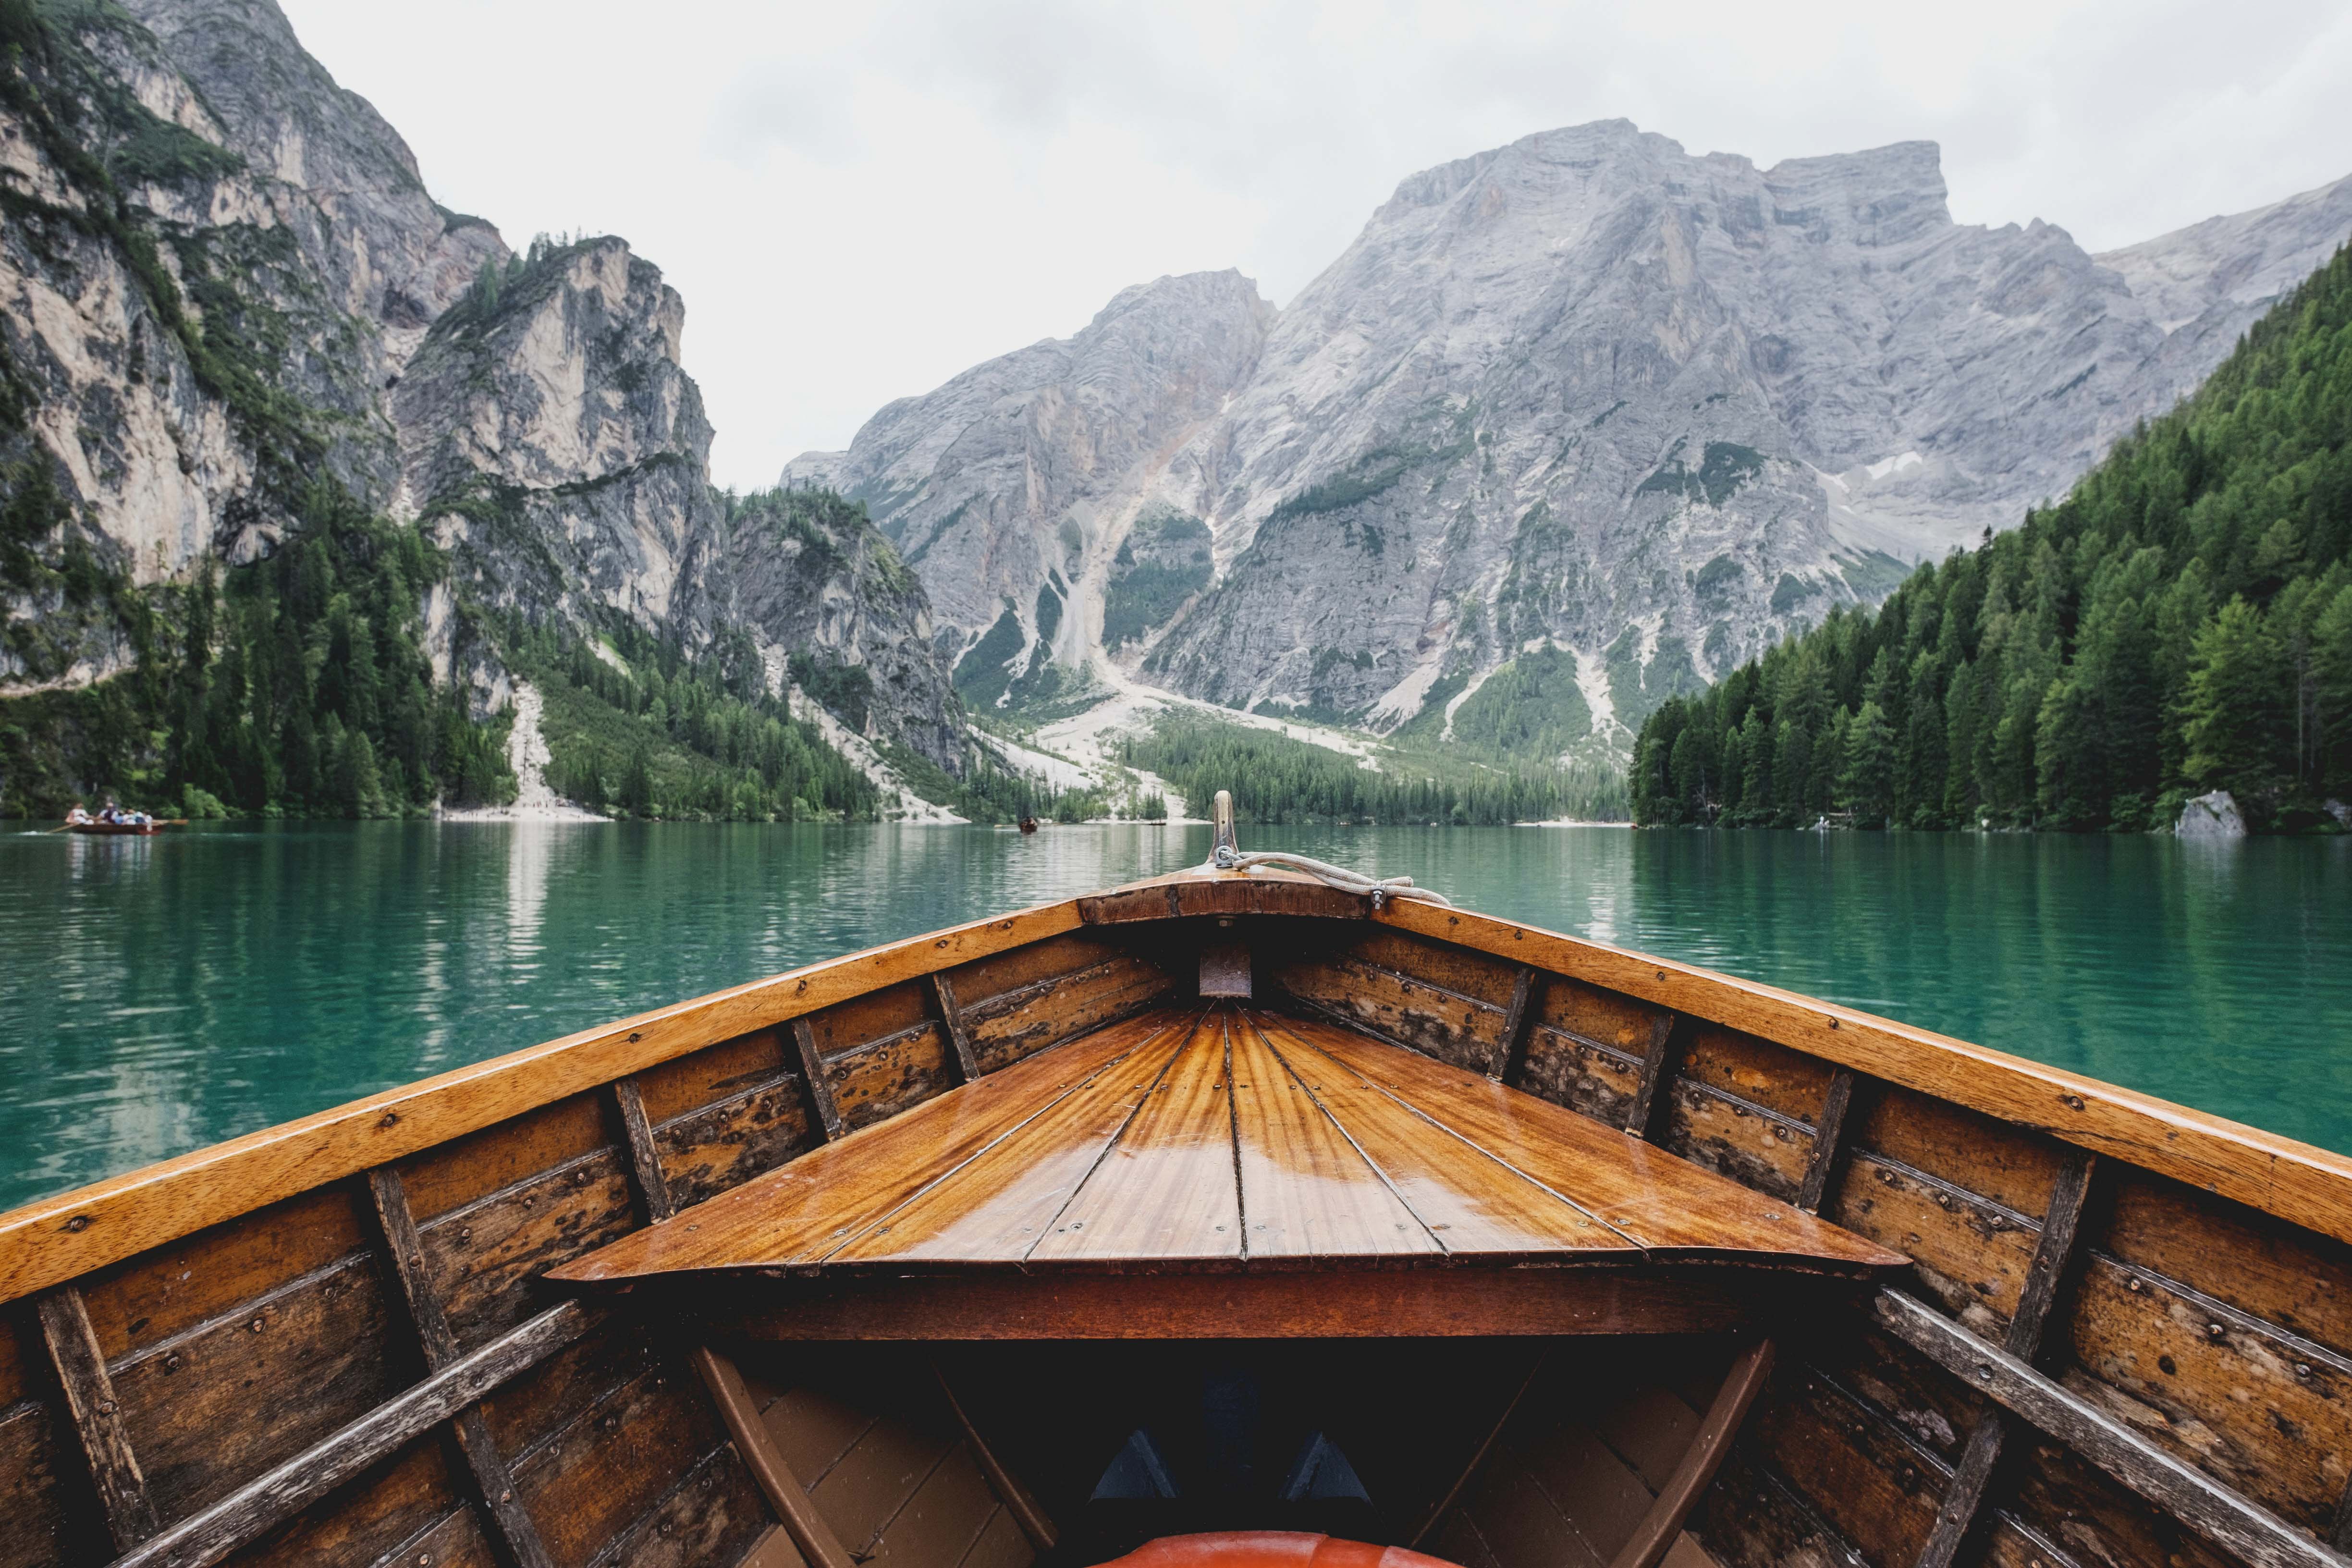 The majesty of a landscape and architecture often falls flat and unimpressive in a photo, as the depth of the place is lost when put into a two-dimensional image. To fix this problem, set layers in your photo with the use of foreground and background. Placing an object in the foreground to give a sense of scale to your photo is the most common technique, and it can be done by using things in the surroundings, such as flowers, rocks, boats, or even human figures.
It’s important to note that your foreground object should be a point of interest that adds to the story. It should be integrated into the whole scene, so it wouldn’t be distracting.
Take the same shot in portrait and landscape format
Taking photos in both orientations will give you the chance to play around with different perspectives. The same subject can look very different when shot in portrait and landscape formats, and you probably won’t know which works best for each shot until you compare it side by side.
Tip: Don’t shoot in square (1:1 ratio) format. It limits the frame width, and if you decide to go for 1:1 format (to post on Instagram, for example), you can always crop later.
Familiarise yourself with shutter lag
The shutter lag in your camera phone is barely noticeable, but when you try to capture spontaneous, fleeting moments, it can be frustrating when your phone doesn’t spring into action as you tap the button. Every phone is different, and practicing will help you get the sense of the shutter lag so you know the right time to press the shutter to get the perfect moment.
Capture the scene
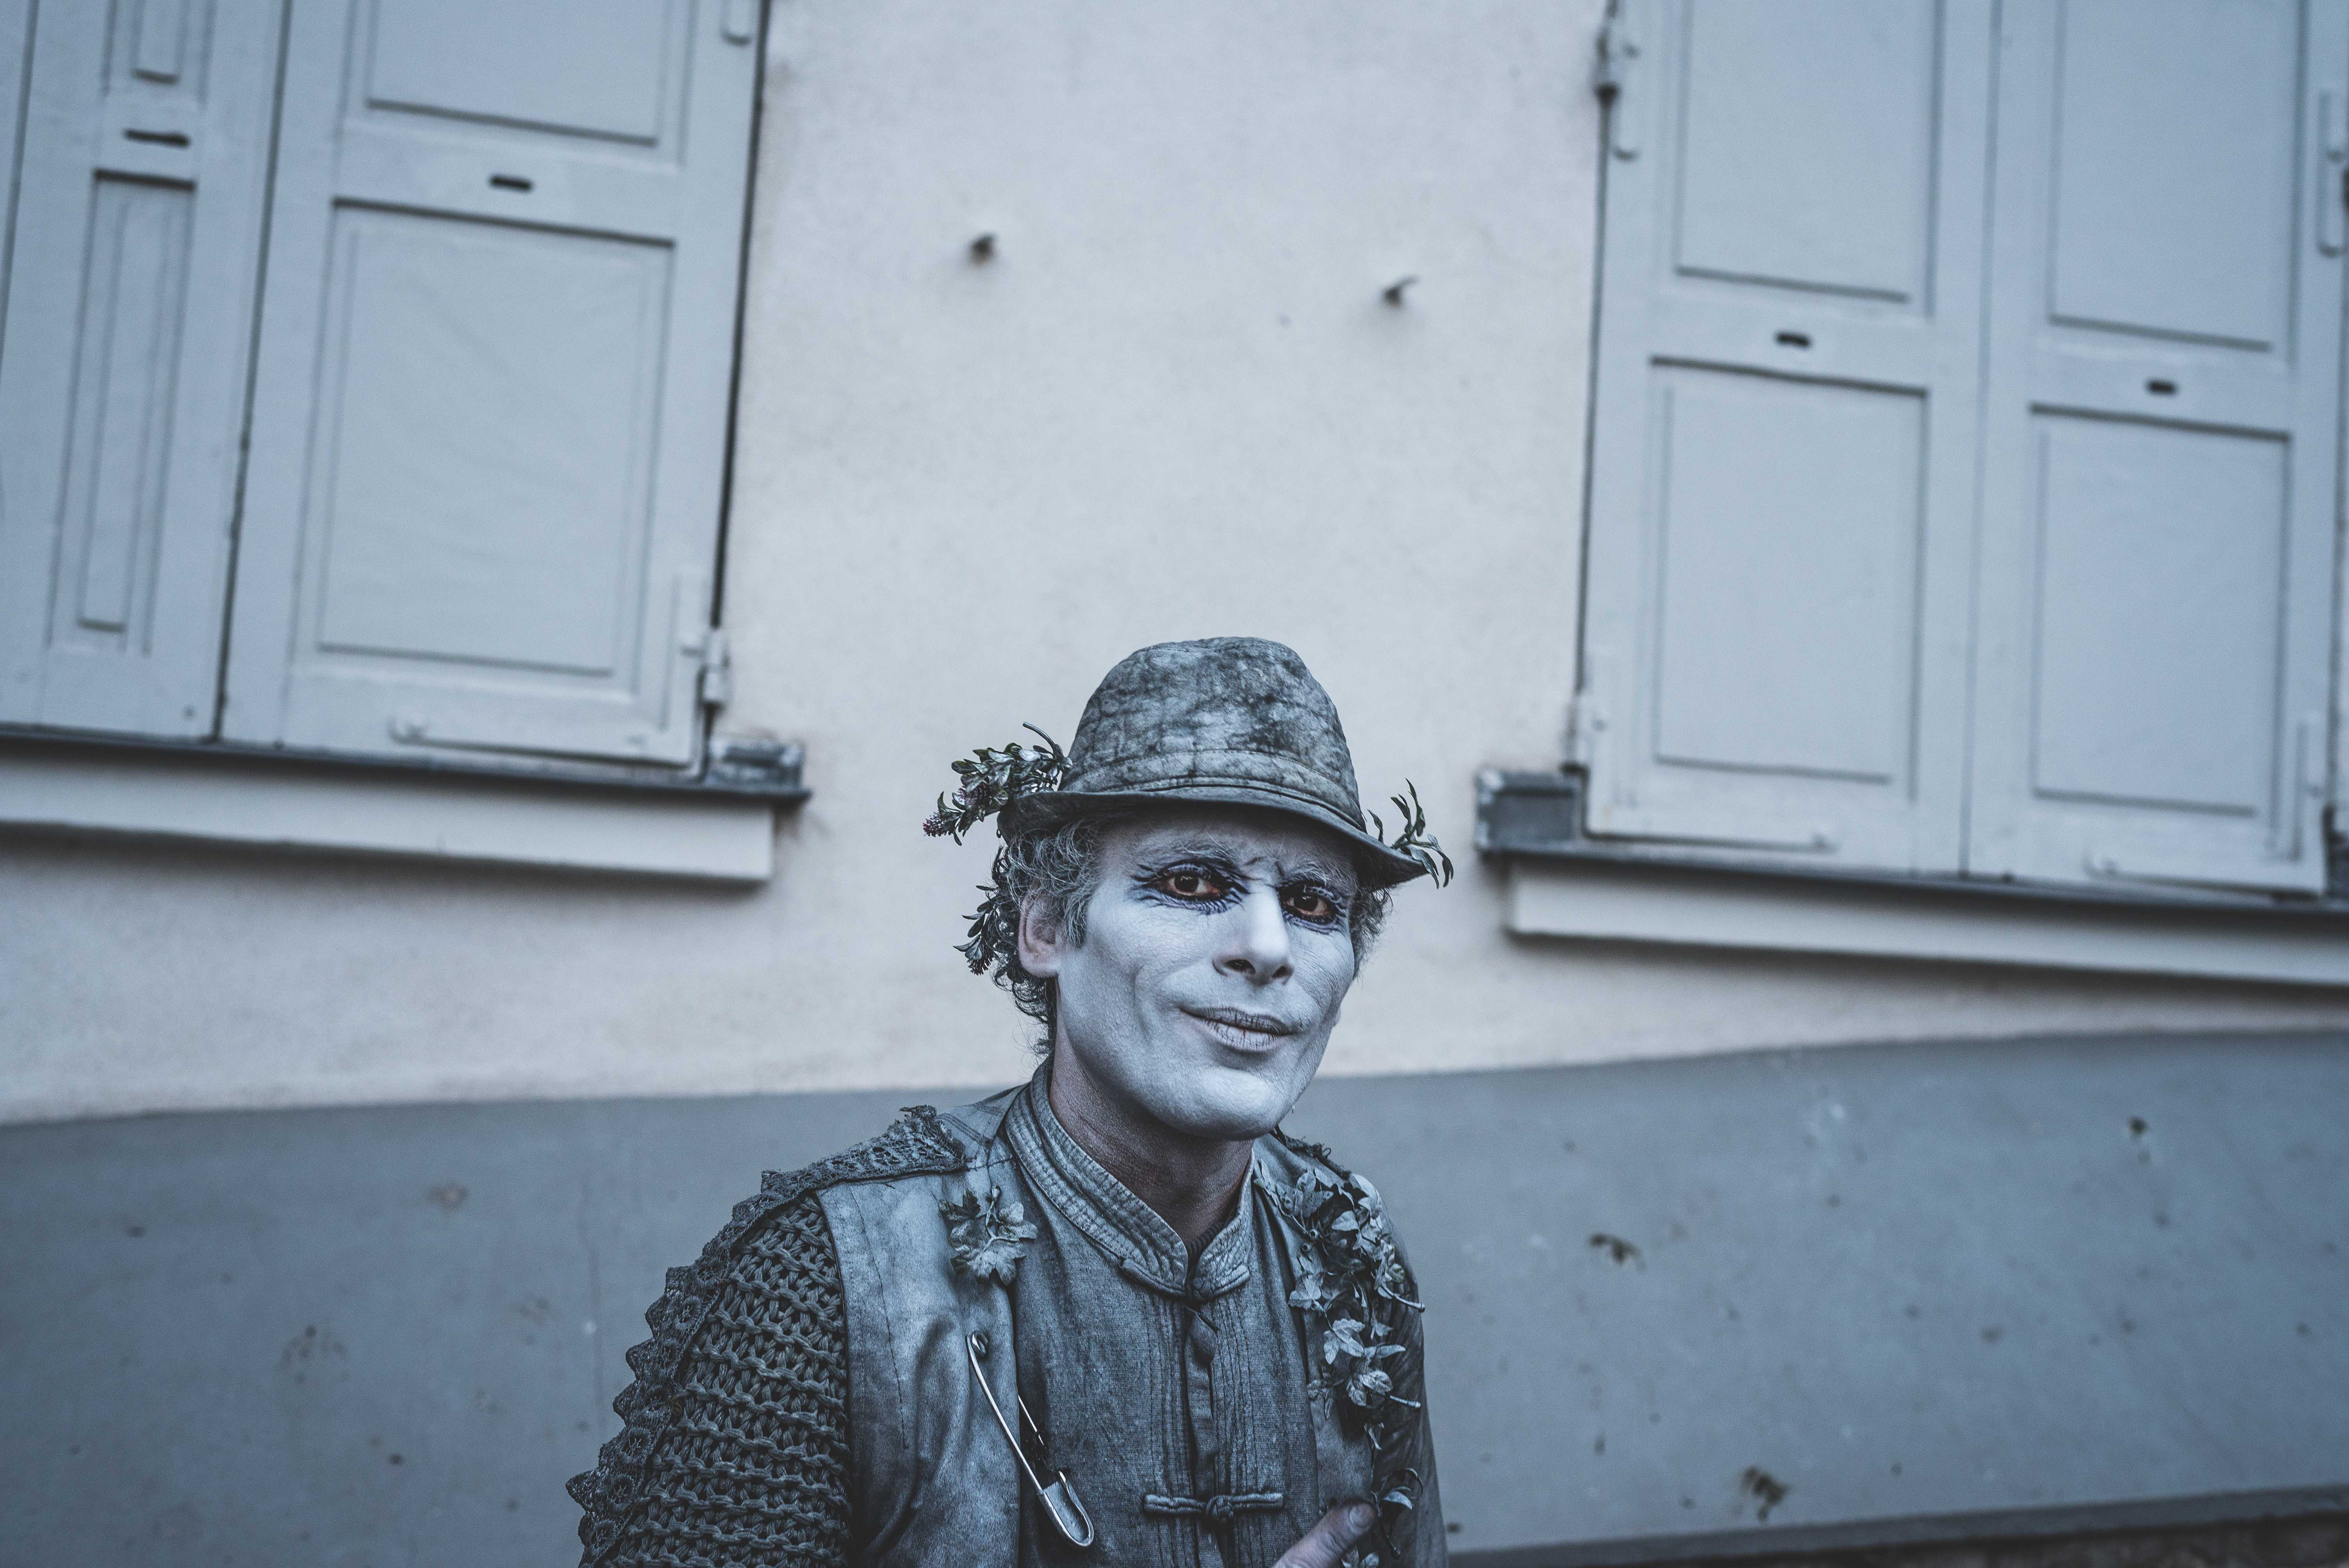 Travel photography is about capturing the experience and telling the stories through the imagery. Your perception of a place is influenced by your 5 senses, and while your camera can only capture what can be seen by the eyes, you can still use your other senses as a guide to spot interesting subjects. If you hear beautiful music serenaded by a street musician, take photos of him, zoom in to show the details of his instrument and his hands playing it, his expressions, or maybe some details of his outfit. If you smell delicious fresh bread from the nearest bakery, take photos of the window display, and walk closer to get close-up shots of the plump bread.
Get the wide-angle shot first, then get closer to the objects to capture the details that won’t be seen from a distance. The pattern and colours of the Moroccan rugs at the market or the texture of the food sold by the street vendor, for example, can add value to the market scene that you have in the previous shots. If you notice the little details first, don’t forget to walk away and stop to capture the scene. The combination of wide-angle and close-up shots together will paint the overall picture of the place.
Simplify your photo to make the subject stand out
A good way to make your photo stand out is by eliminating the distraction that takes the focus away from the subject. This can be done by choosing an uncluttered background, or using negative space to bring the focus on the subject. Doing either of these will simplify the photo and make the subject stand out.
Tip: Composition plays an important part in this, so make sure you’ve mastered it first!
Look back
 Sometimes, we’re too focused on what’s in front of us, we don’t realise the view behind us is equally stunning, if not more. When you walk in a direction, take time to stop and turn around (a few times, in different spots). This will give you the chance to see a place from a different angle and perspective, and more often than not, this is the time when people notice interesting subjects they had missed the first time.
Use Instagram as your resource
Instagram is a goldmine of information for travellers and shutterbugs. The geotags and hashtags are great to explore your destination, the points of interest, and the spots to take photos. Use these features to learn the angles and perspectives that work (or don’t work) in a particular place, and what you can do to improve it. Seeing the photos that people have taken will give you an idea of what to look for to get a unique perspective.
Prepare the phone accessories to use when needed
Your phone camera might be great, but sometimes the phone itself needs a little help and protection, and it does have some disadvantages. Short battery life and fragile phone, for example, are among the most common problems for smartphone photographers. Don’t let these issues hinder your travel photography. Come prepared; arm your phone with high-quality case and screen protector, bring a portable battery pack/charger, and use a waterproof case if necessary.
Edit, but keep it natural
 Editing can be hit-and-miss, and unfortunately, many people fall into the trap of overdoing their photos. From bumping up the contrast and saturation too much, adding a blurry effect that doesn’t look natural, to adding fake lights with filters, these edited photos sadly end up looking worse than the original shots.
Edit as necessary, but keep it close to how it looks naturally. Using bokeh effect to blur the background can be tempting, but it often makes the photos look fake more than anything. Just remember: when editing your photos, you’re enhancing it, not changing it.
Have you been on a holiday recently? Don’t let your photos get buried, create a travel photobook to keep the precious moments and stories! Go to Photojaanic‘s website for more info.


Be the first one to comment